If you've ever caught your dog shaking their head repeatedly or scratching at their ears, you already know how uncomfortable ear issues can be for our four-legged friends. Regular ear cleaning is one of those simple but powerful habits that can make a real difference in your dog's overall health and comfort. The good news? With the right technique and a little patience, cleaning your dog's ears at home is completely manageable — and most dogs learn to tolerate it pretty well once it becomes part of their routine. In this guide, we'll walk you through everything you need to know, from the supplies you'll need to the warning signs that mean it's time to call your vet.

Why Regular Ear Cleaning Matters
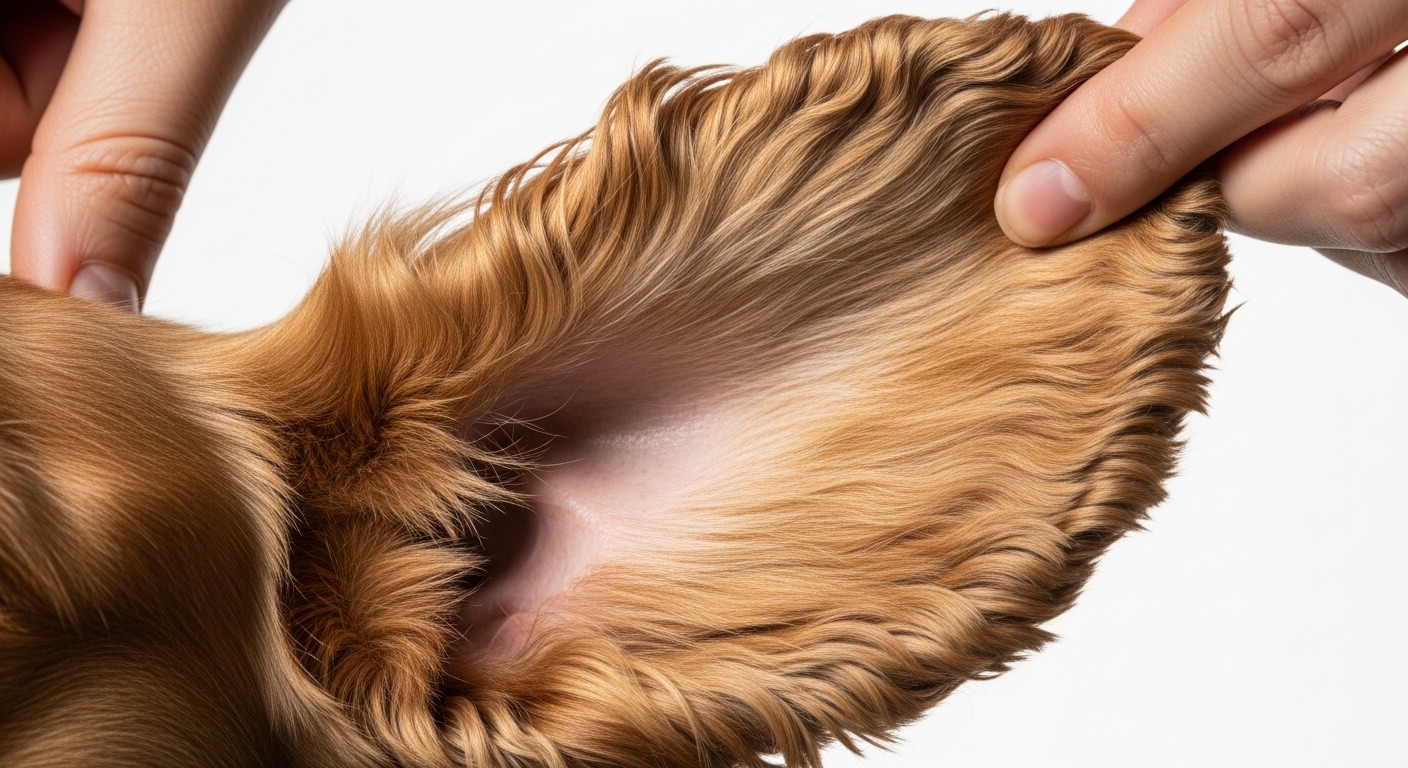
A dog's ear canal is shaped quite differently from a human's — it has a long vertical canal that curves before reaching the eardrum, creating a warm, dark environment where moisture and debris can easily accumulate. This unique anatomy means that without regular maintenance, wax, dirt, and even yeast or bacteria may build up over time, potentially leading to discomfort or infection.
Some breeds are especially prone to ear problems. Dogs with floppy ears — like Basset Hounds, Cocker Spaniels, and Labrador Retrievers — tend to trap more moisture and airflow is reduced, which can encourage the growth of unwanted microorganisms. Similarly, dogs that love to swim or spend time outdoors may need more frequent attention. Many vets suggest that routine cleaning, done correctly, may help prevent a large percentage of common ear infections before they ever take hold. Think of it as a small investment of time that pays off in fewer vet visits and a much happier pup.
Consistent, gentle ear cleaning is one of the easiest ways to stay ahead of potential ear problems and keep your dog comfortable year-round.
Guidelines & Frequency
Before you pick up a cotton ball, it helps to understand how often your dog actually needs their ears cleaned. Over-cleaning can be just as problematic as under-cleaning, potentially stripping away the natural protective oils and causing irritation. Here's a general framework to follow:
- Once a month is typically sufficient for most healthy dogs with upright ears and no history of ear problems.
- Every one to two weeks may be more appropriate for floppy-eared breeds, dogs that swim frequently, or those with a history of recurring ear infections — always confirm the right schedule with your vet.
- After every bath or swim, gently dry the outer ear area with a soft towel to reduce moisture buildup.
- Only clean when needed — if your dog's ears look clean, smell normal, and your dog shows no signs of discomfort, it's perfectly fine to skip a session.
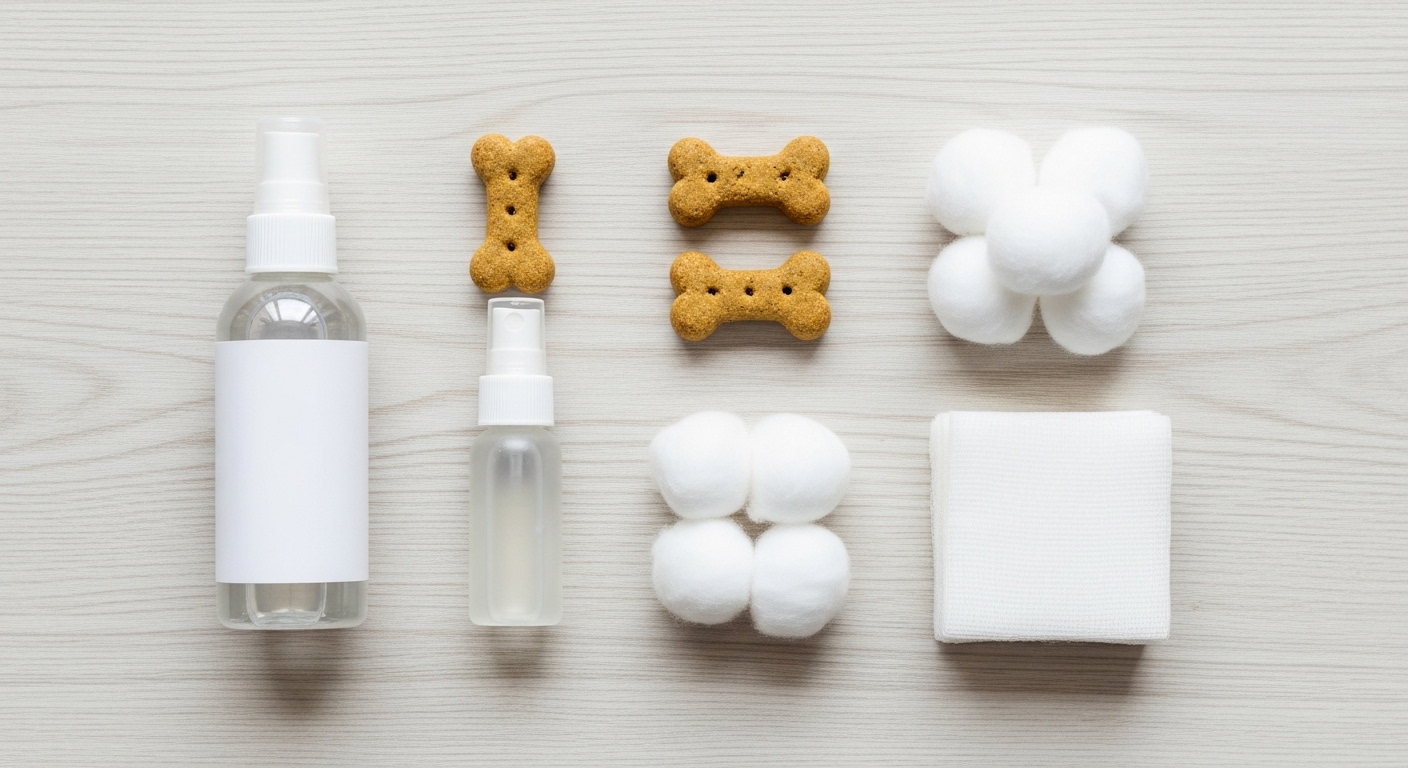
To perform a safe and effective cleaning, you'll want to gather the right supplies beforehand. Having everything within reach will make the process smoother for both you and your dog. Here's what you'll need:
- A veterinarian-approved dog ear cleaning solution (avoid alcohol-based products)
- Cotton balls or gauze pads (never cotton swabs, which can push debris deeper)
- A soft towel or paper towels for any drips
- Dog treats for positive reinforcement
- Good lighting — a headlamp or well-lit room works great
Recommended Options for Safe Ear Cleaning
Not all ear cleaning products are created equal, and choosing the right one can make the whole process safer and more comfortable for your dog. Here are some well-regarded options and approaches that many pet owners and vets find helpful:
- Veterinary-formulated ear cleaners — Products like Virbac Epi-Otic or Zymox Ear Cleanser are widely recommended by vets and are designed to gently break down wax without disrupting the ear's natural balance.
- Alcohol-free, pH-balanced solutions — These are gentler on sensitive ear tissue and less likely to cause stinging or irritation, making them a good choice for dogs with mildly sensitive ears.
- Drying agents for water-loving dogs — Some ear solutions contain mild drying ingredients that may help reduce moisture after swimming, which in some cases can lower the risk of yeast-related issues.
- Medicated ear cleaners (vet-prescribed only) — If your dog has a diagnosed condition, your vet may recommend a specific medicated solution; always follow their guidance precisely.
- Gentle cotton balls or gauze — For wiping the outer ear canal, these are far safer than cotton swabs and less likely to accidentally push debris further in.
When in doubt about which product to use, a quick call to your veterinarian's office can point you in the right direction for your specific dog's needs.
What to Avoid When Cleaning Your Dog's Ears
Knowing what not to do is just as important as knowing the right technique. Some common mistakes can actually make things worse, turning a simple maintenance task into a potential health hazard. Avoid these missteps in order of importance:
- Never insert cotton swabs (Q-tips) into the ear canal. This is the most critical rule — swabs can push wax and debris deeper toward the eardrum and may cause injury or even rupture the eardrum in sensitive dogs.
- Do not use hydrogen peroxide or rubbing alcohol. These harsh substances can irritate or damage the delicate lining of the ear canal and may cause significant discomfort.
- Avoid over-cleaning. Cleaning too frequently strips the ear of its natural protective environment and can lead to irritation, dryness, or even increase susceptibility to infections.
- Don't ignore resistance or pain signals. If your dog yelps, pulls away sharply, or shows signs of real distress during cleaning, stop immediately and consult your vet — this may indicate an underlying issue that needs professional attention.
- Skip the cleaning if you suspect an active infection. Redness, a strong odor, discharge, or visible swelling are all signs that you should head to the vet rather than attempt a home cleaning, which could worsen the condition.
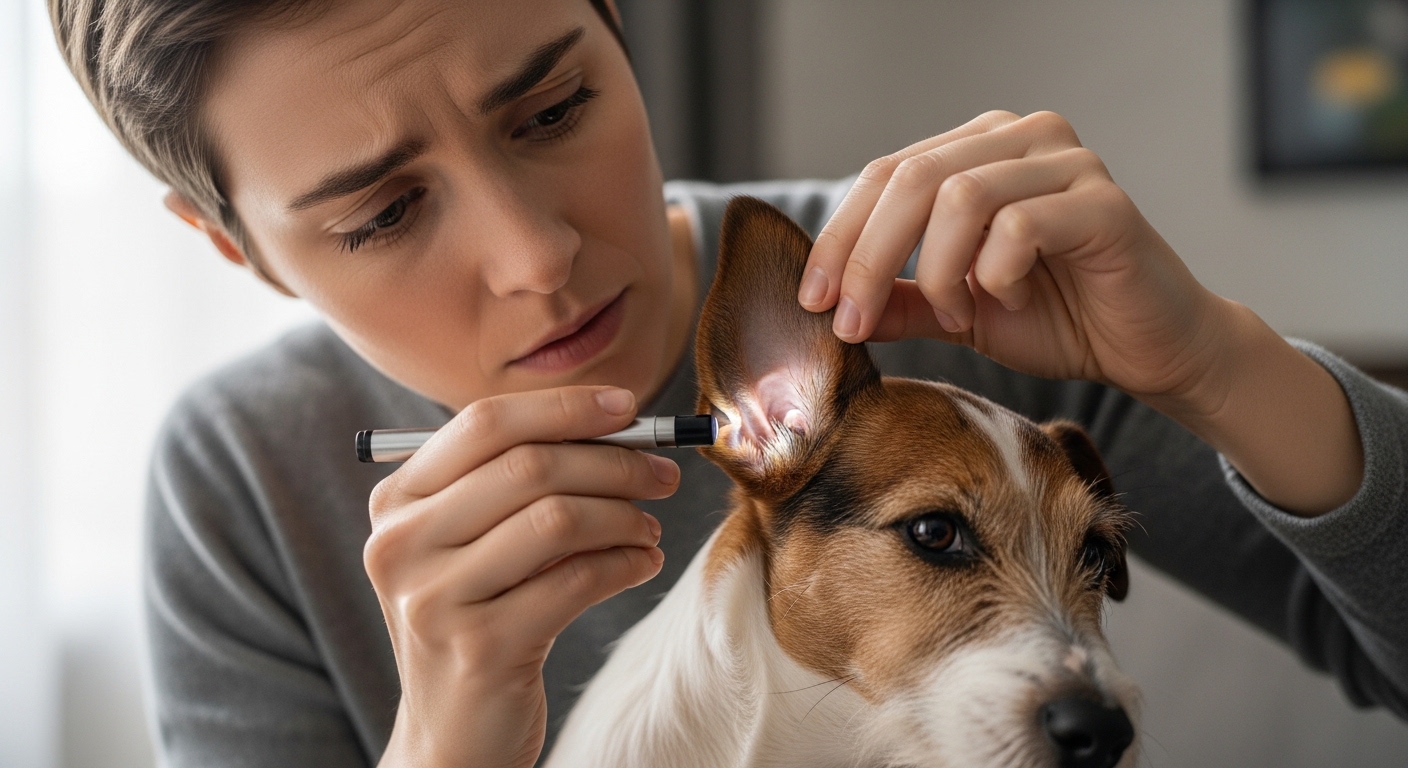
- Never probe deeper than you can see. Only clean the visible parts of the outer ear. The inner canal should only be addressed by a veterinary professional.
Frequently Asked Questions
How do I know if my dog's ears actually need cleaning?
A healthy dog ear should look light pink, smell neutral or very mildly waxy, and have no visible discharge. If you notice a small amount of light-colored wax, a gentle wipe is all that's needed. If the ear looks visibly dirty, has a darker buildup, or smells musty, it's time for a proper cleaning session.
What does a dog ear infection look and smell like?
In some cases, an ear infection may present as redness or swelling inside the ear, a dark brown or yellowish discharge, a strong or foul odor, or your dog repeatedly scratching at one ear more than the other. These are signs that a home cleaning alone won't help — please consult your veterinarian for a proper diagnosis and treatment plan.
My dog hates having their ears touched. What can I do?
Start slowly and use lots of positive reinforcement. Begin by simply touching the outside of the ear and rewarding with a treat. Gradually work toward lifting the ear flap, then eventually introducing the cleaning solution over multiple short sessions. Many dogs become much more comfortable with ear handling once they associate it with treats and calm praise. If your dog remains extremely resistant, your vet or a professional groomer can help.
Can I use homemade ear cleaning solutions?
While some DIY recipes circulate online, many vets caution against using homemade solutions as they may have the wrong pH balance or contain ingredients that could irritate your dog's ears. It's generally safer and more effective to use a commercially prepared, veterinarian-approved ear cleaner designed specifically for dogs.
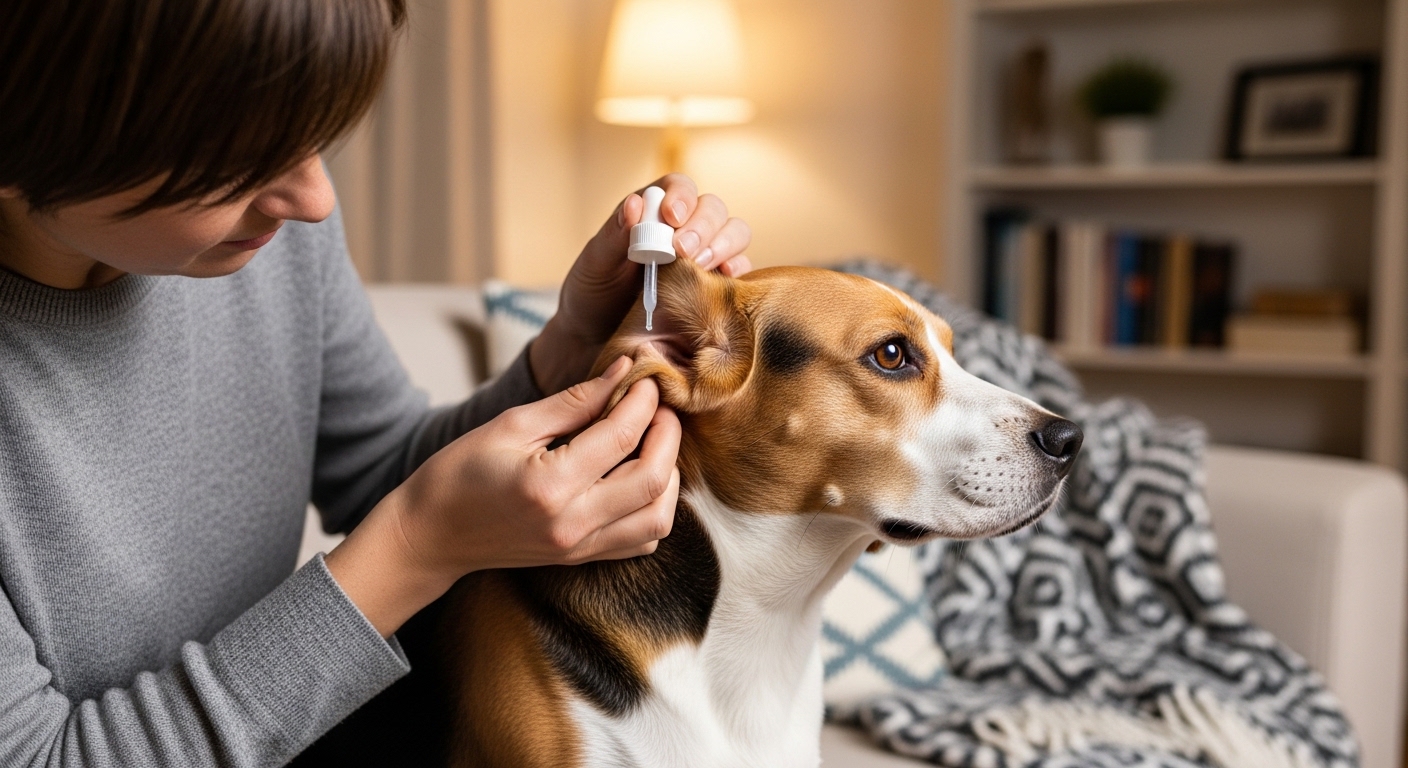
How do I actually apply the ear cleaner step by step?
Gently hold the ear flap upright to expose the canal, then apply the recommended amount of cleaner directly into the canal opening. Gently massage the base of the ear for about 20 to 30 seconds — you should hear a light squishing sound as the solution loosens debris. Allow your dog to shake their head (step back!), then use a cotton ball to wipe away any loosened wax or solution from the visible parts of the canal. Reward your dog generously afterward.
With a little practice and a lot of patience, ear cleaning can become a stress-free part of your dog's regular grooming routine — and your dog will be all the healthier for it. Remember, you're their first line of defense when it comes to catching small issues before they become big problems. Stay consistent, stay gentle, and never hesitate to reach out to your veterinarian if something doesn't look or smell quite right.

Comments
Post a Comment